

As you may already know, 4 Wheel Parts is a global leader in off-road performance products. The name is synonymous with great products, great service, and innovation in the off-road market. The all-new Tacoma Sliders from 4 Wheel Parts Factory are the epitome of what makes 4WP one of the best in the game.
4 Wheel Parts Factory recently released a ton of new, innovative Tacoma products such as modular bumpers, bed stiffeners, and these sliders. The 4 Wheel Parts Factory Tacoma Sliders are pretty unique and have some cool features that set them apart from the competition. These are legitimate, heavy-duty rock sliders that also function as a step. Stick around until the end of this post for my YouTube video.
Keep reading for a full overview, install, and review of these all-new 4 Wheel Parts Factory Tacoma Sliders. We’ve also covered their super low-profile bed stiffeners – check that post out here.
Find It Online
OVERVIEW
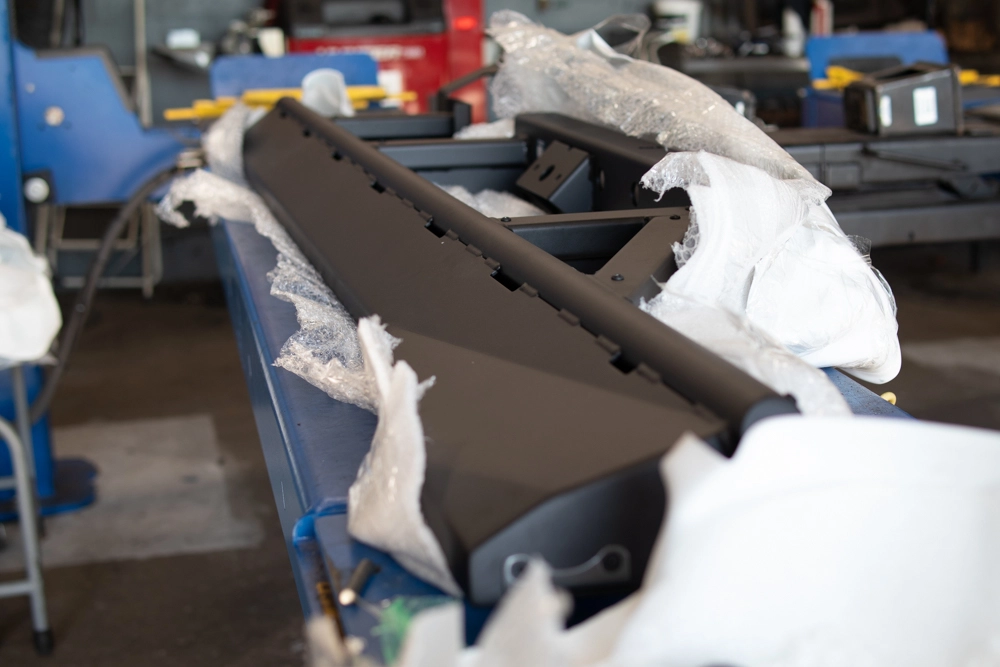
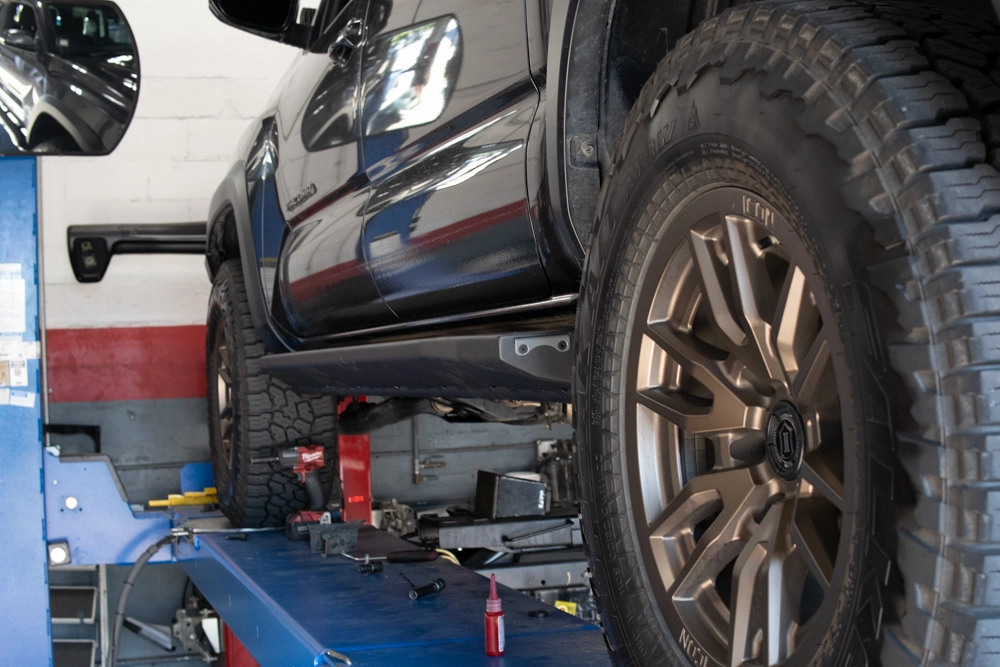
My initial observation of these sliders upon unboxing them is that they are truly beefy.
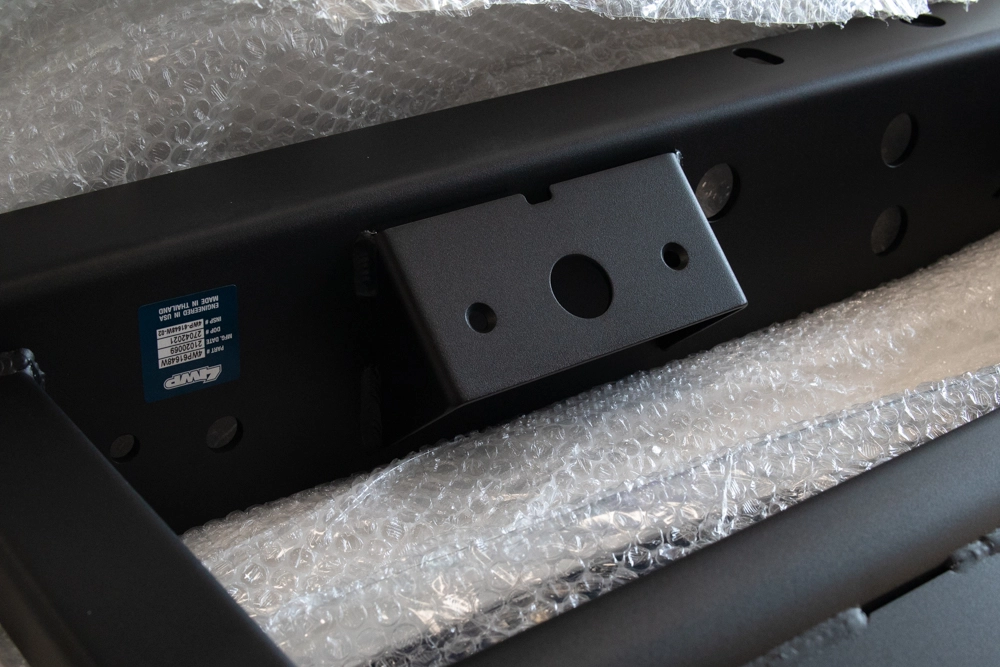
They are frame-mounted, bolt-on sliders made of a hybrid tube and plate steel construction.
I truly think these sliders look incredible and complement the design of the Toyota Tacoma well. I have come to realize that photos don’t do these sliders justice.
The angular design of the plate and how well they sit up against the rocker panel provide an OEM look while giving you confidence that your Tacoma body is protected while off-roading.
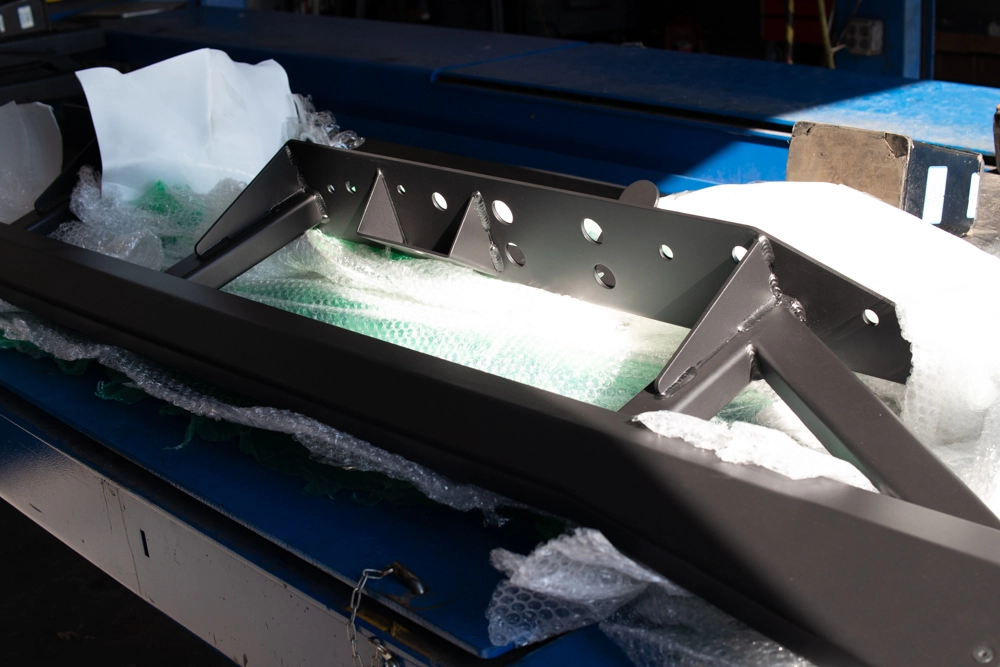
Aside from their unique look, the sliders have a couple of pretty cool features.
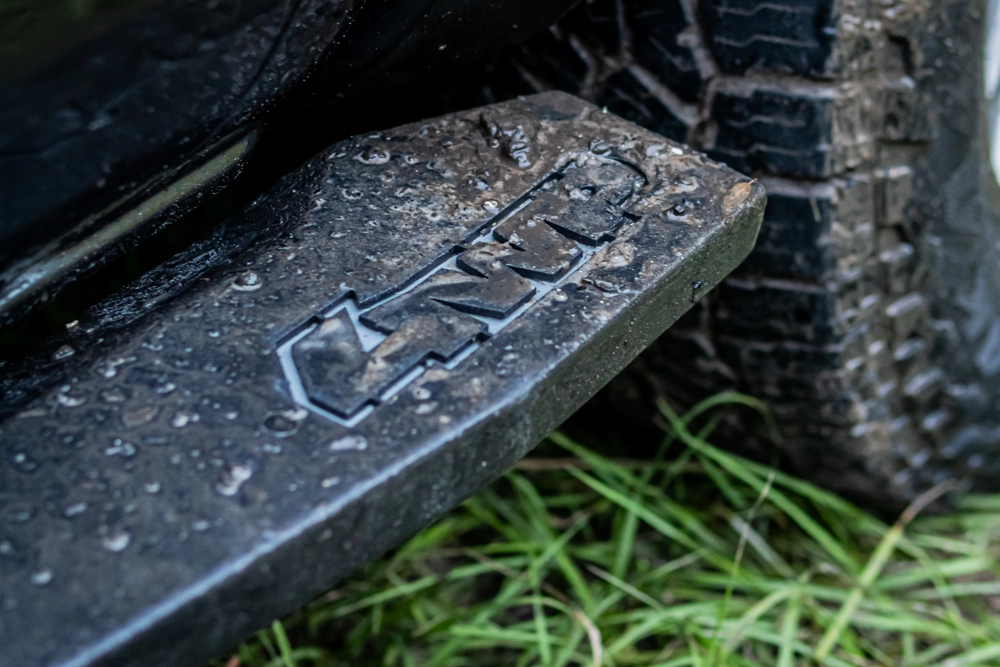
They have a rear kick out that protects the rear wheel and bedside and provides a great-looking surface area to use as a step.
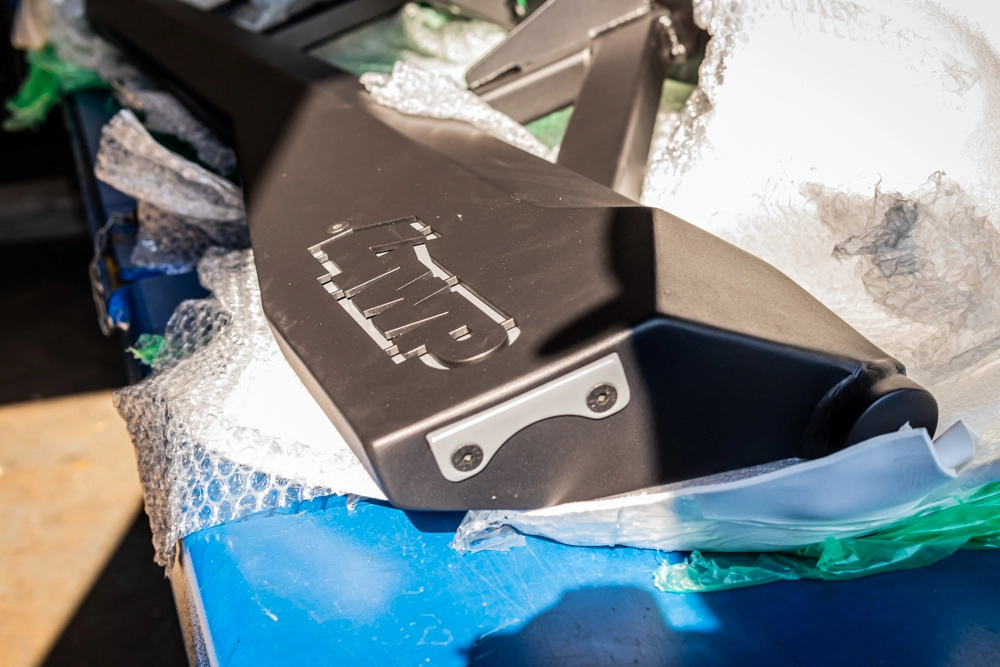
The top of the kickout has a 4 Wheel Parts logo that includes a customizable plate that can be painted to provide some extra flair to the step.
The sliders also include protected rock light mounting points under the step.
This is a cool feature that allows you to add rock lights for off-roading after dark without worrying about damaging them.
4 Wheel Parts PROFESSIONAL INSTALLATION
Before going into the install, I wanted to mention that 4 Wheel Parts provides expert, professional installation of all products that they sell.
I was able to have them install the sliders on my truck, and it’s seriously impressive how fast and detailed they work to get the job done.
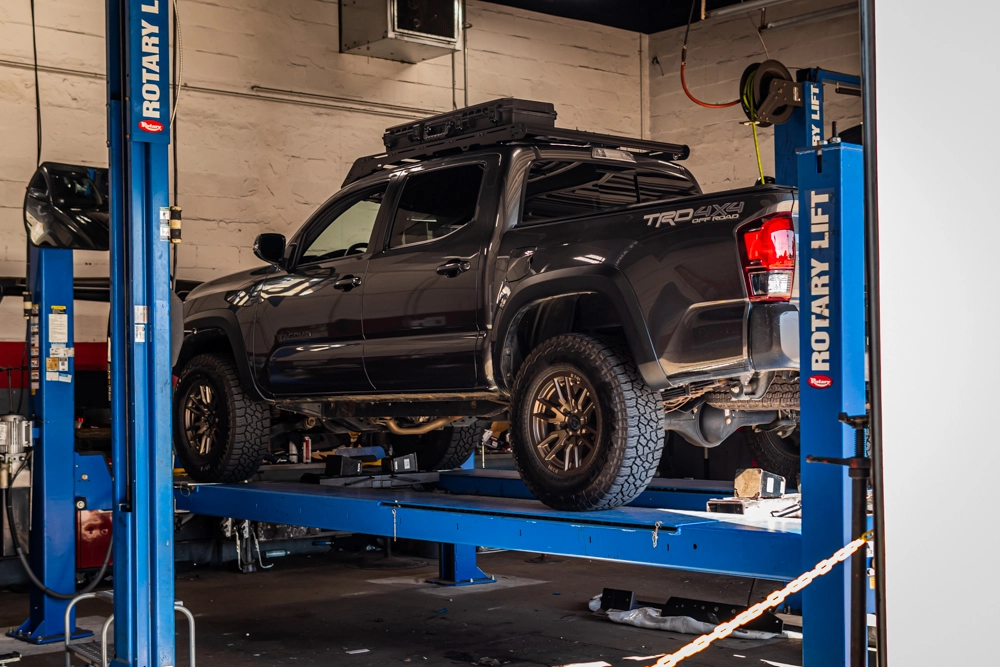
Though this was their first time installing the new Tacoma rock sliders, let alone any of the new line of 4 Wheel Parts Factory Tacoma products, they were able to get it done without a hitch. I felt much more comfortable with them doing the install, especially being such a heavy/cumbersome modification, than I would be installing them alone in my garage with a floor jack.
I would definitely recommend looking into getting your parts professionally installed by 4WP as they provide awesome work.
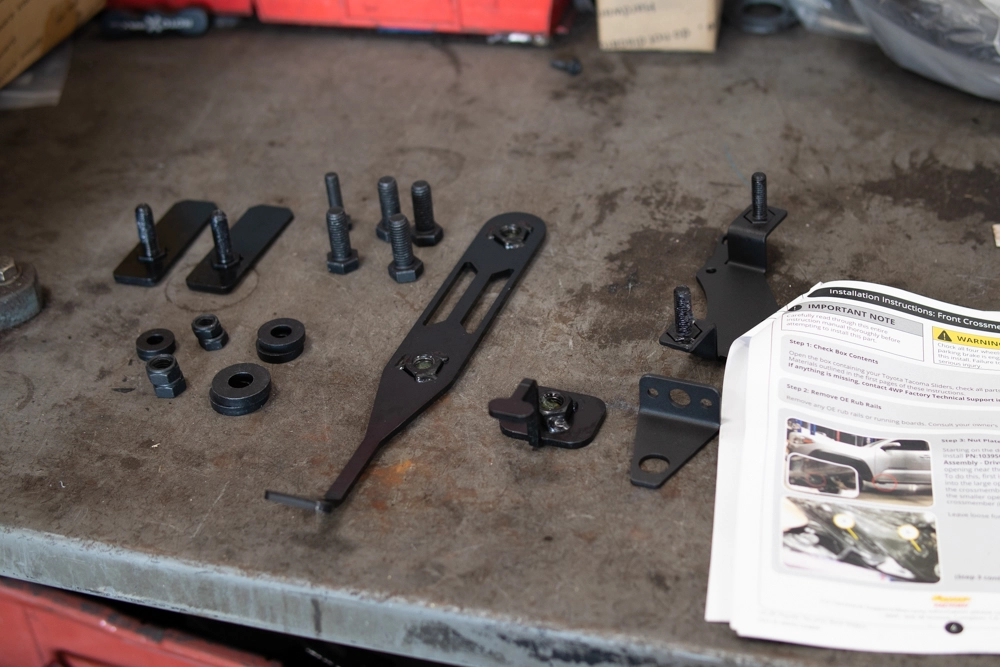
TOOLS & MATERIALS
You will need a few key tools to make this install go smoothly:
- Metric Socket Set
- Metric Wrench Set
- Torque Wrench
- Blue Threadlocker
If you plan to install yourself you may also want a floor jack and jack stands to help lift and hold the sliders while bolting them down.
STEP 1. ADDING CROSSMEMBER NUT PLATES
In this step, you will need to install the nut plates into the cross member of the frame. The nut plates have an arm on them that sticks out the holes in the cross member. This is to allow you to easily line up the nut plate when going to bolt down the sliders.
These nut plates are specific to one side, so make sure you are using Nut Plate 1 for the driver’s side and Nut Plate 2 for the passenger’s side. Simply insert the handle end into the larger opening on the bottom of the cross member and feed it through the smaller opening on the other side. You can leave this loosely resting in the cross member for now.
STEP 2. ADJUST BRAKE LINES

To begin, remove the plastic covers/plugs from the driver and passenger outer frames.
Next, you will need to remove the brake line bracket on the driver side that is held on by two 12mm bolts. Save the bracket and hardware to reinstall later.
Remove the brake lines from the white brake line tab and remove the plastic frame cover from under the brake lines.
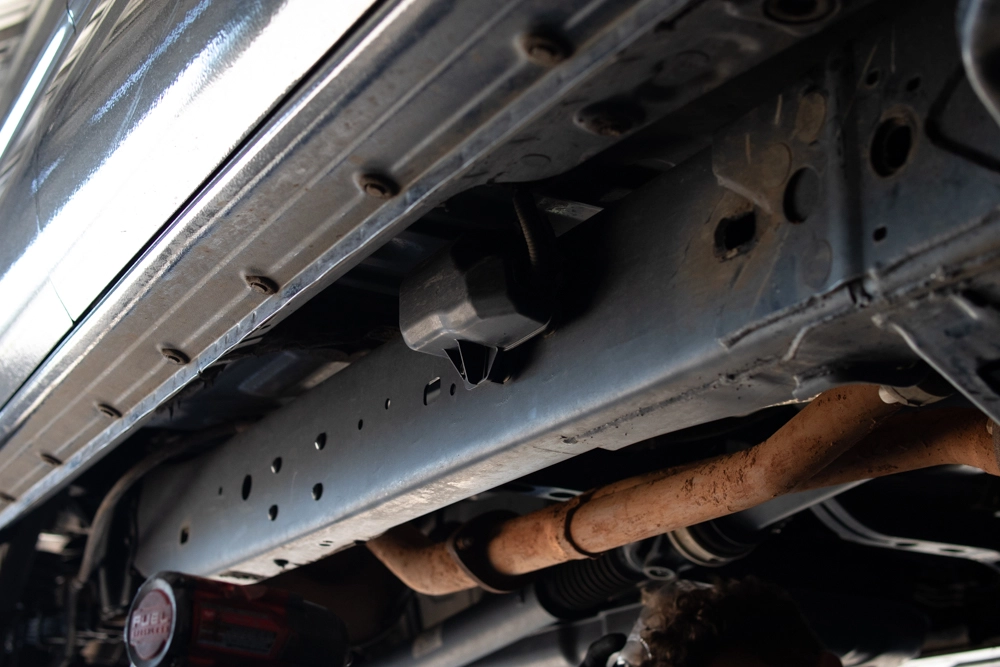
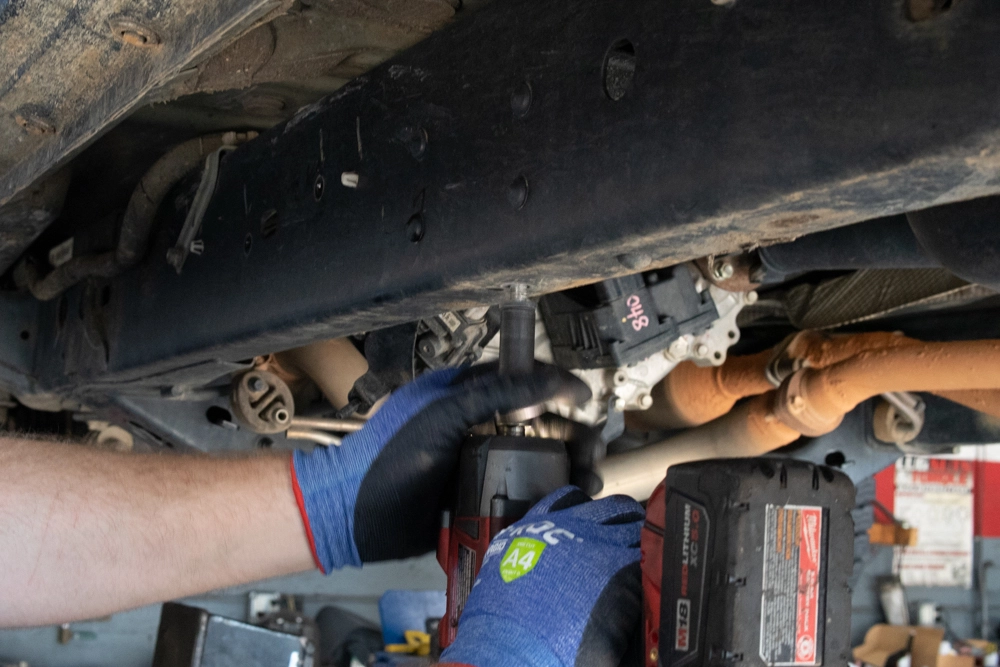
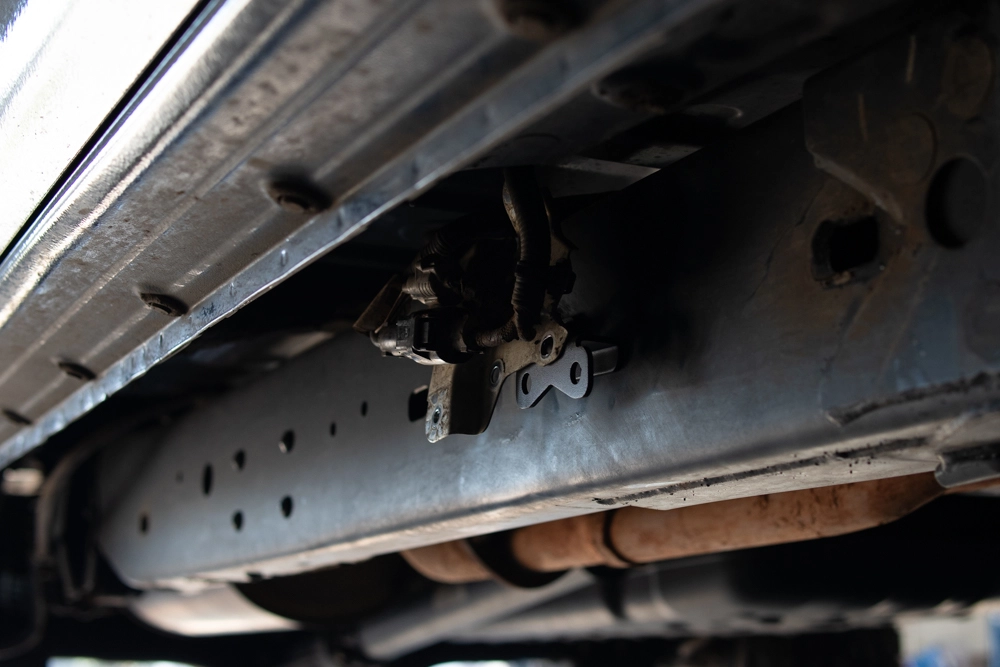
STEP 3. REMOVE FUEL PUMP CONTROL HARDWARE
Remove the fuel pump control module cover using a 10mm socket.

The next step is to remove the hardware that holds on the fuel pump control. This is on the center of the driver’s side frame rail.
Again, loosen the two 12mm bolts but do not disconnect the module.
With the hardware removed, use a zip tie or small bungee cord to hold the module up.
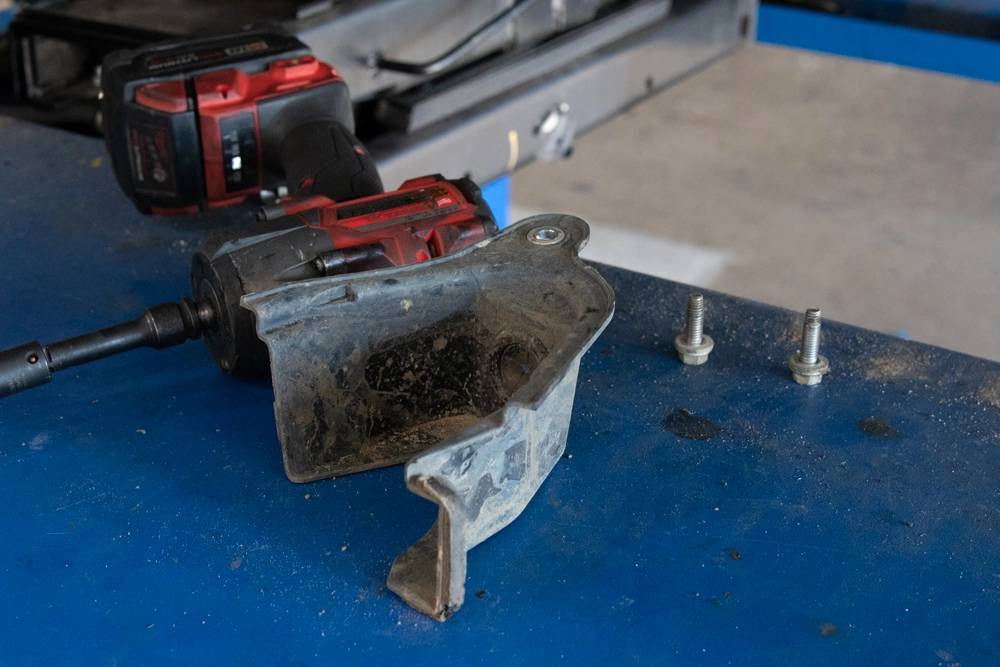
STEP 4. REMOVE PASSENGER JUNCTION BOX
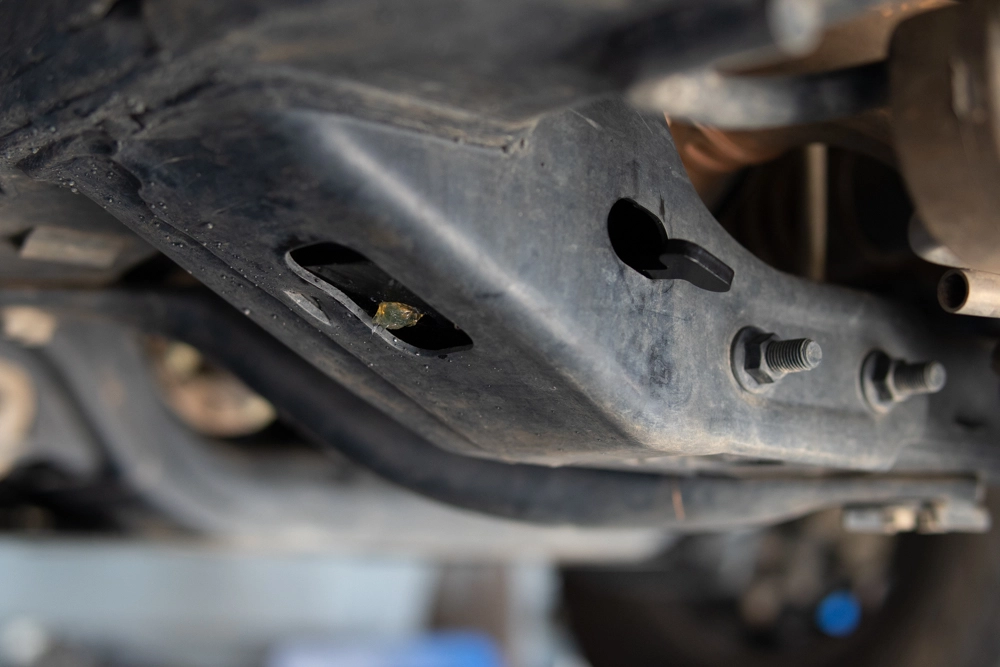
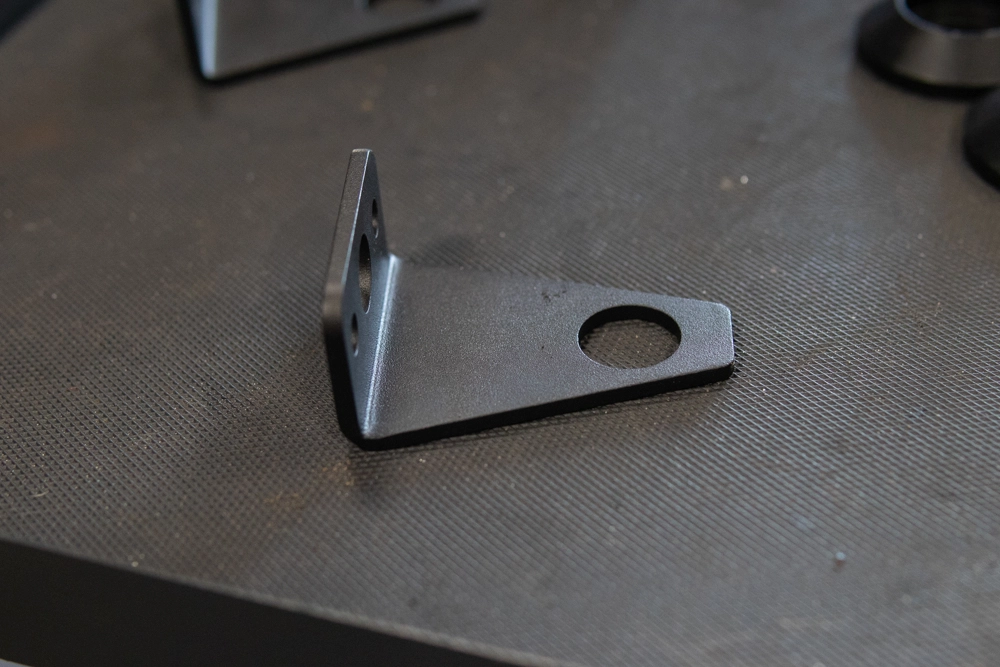
Towards the front of the frame on the passenger side, there is a junction box that you will need to remove before installing the slider.
This is held on by two 10mm bolts.
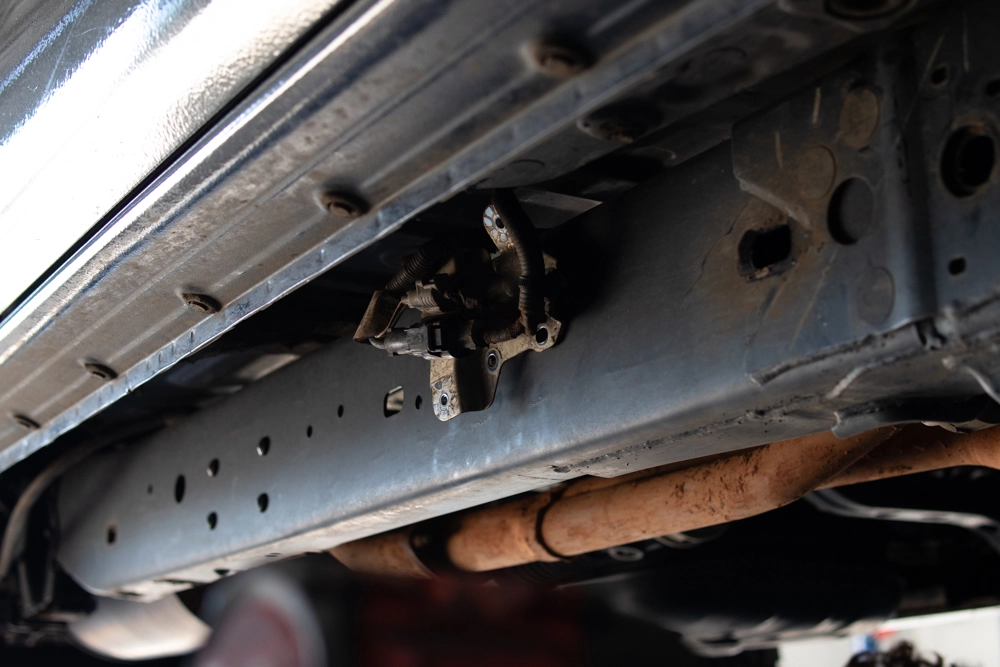
Next, remove the two OE bolts on the passenger junction box bracket using a 12mm wrench and remove the bracket.
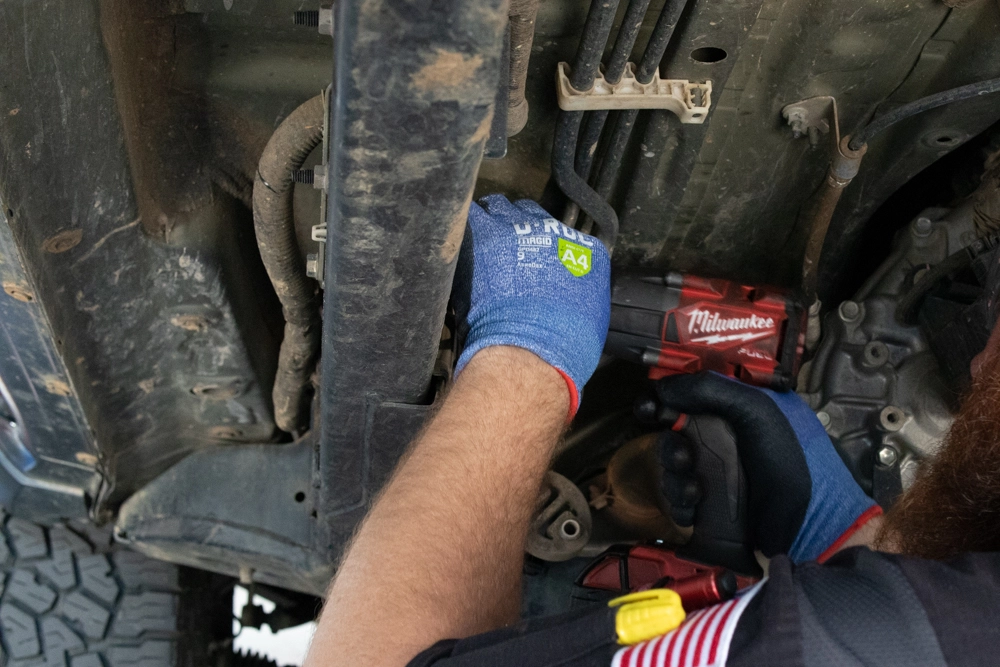
STEP 5. SLIDER INSTALLATION
With the prep work done, we’re about ready to install the slider onto the truck.
First, you will need to install Nut Plate 3 to the driver’s side rear cross member as well as the passenger’s side.
In the middle of the frame on the driver side, there is one OE M10 bolt you will need to remove with a 14mm socket before installing the slider.
Once removed, it’s time to grab a friend to help lift the slider to the truck frame.
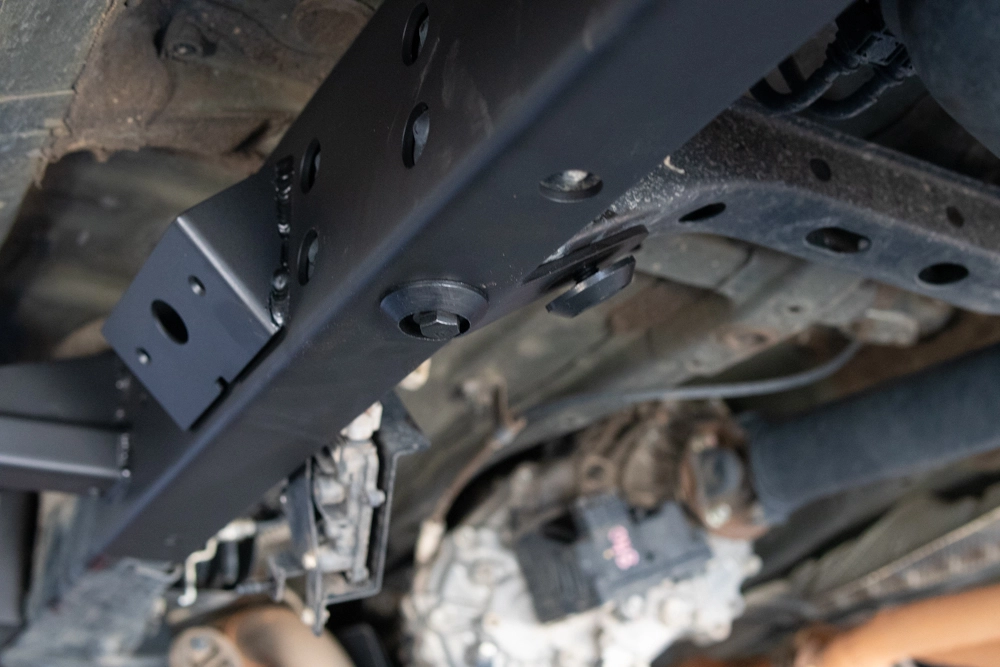
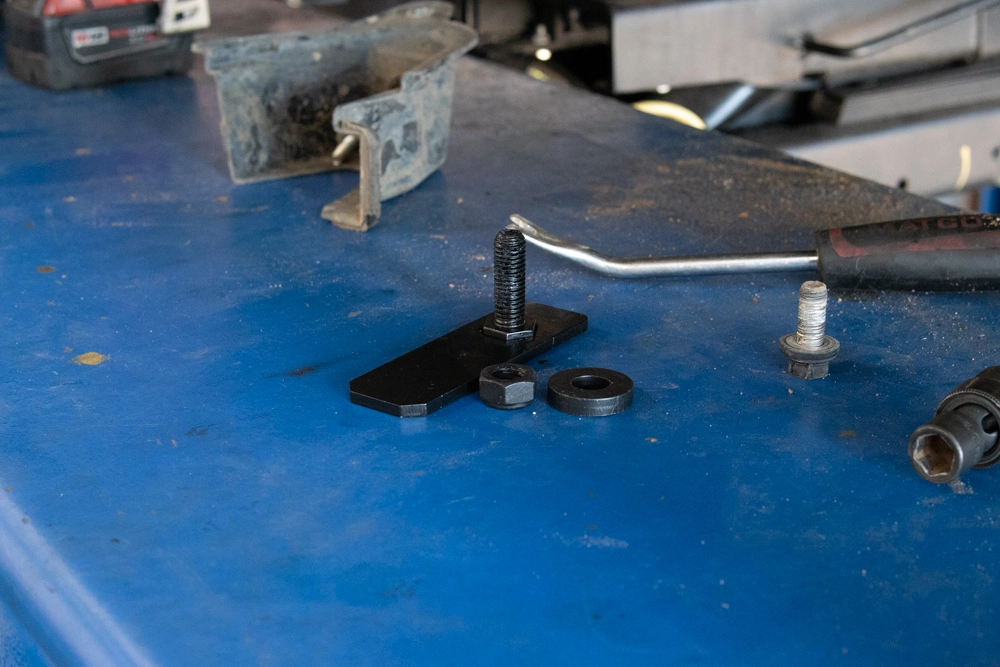
Line up the slider to the frame and bolt the slider to the frame using the provided M10 bolt and M10 Ramped Spacer (the smaller one). Make sure to use some blue threadlocker to secure this bolt. This is the same hole you just removed the M10 bolt from using the 14mm socket.
You will notice there is a tab on the slider that lines up with the cross member and has a hole for a bolt. Here, you will need to use an M14 bolt and M14 Ramped Spacer. Again, use some thread locker on this bolt. Note that if you follow the instructions, the photo shows a bolt without the ramped spacer in a previous step but a few steps later it is installed.
You can also install the bolt to the nut plate installed in the front subframe.
Leave this loose as you may need to adjust the slider later on.
STEP 6. BRAKE LINE PLATE AND PROTECTION
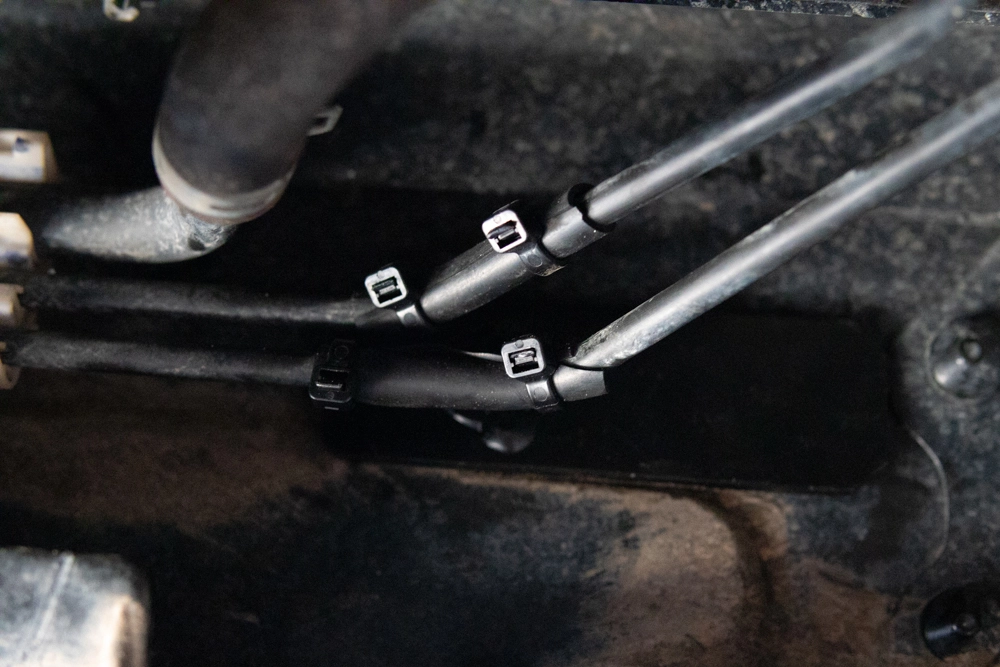
In this step, you will need to install the two bolt plates. On the driver side behind the rear frame, un-clip the brake line bracket from the frame. Feed the bolts on the two bolt plates through the frame from the inside out. Tighten these down using the M12 Nylock nuts and oversized washers on the outside of the frame.
Now it’s time to install the Abrasive Resistant Polyurethane Tubing from the Brakeline Protection Hardware Pack. To do this, simply wrap the tubing around the brake lines where they may contact the newly installed bolts. Zip tie the tubing to secure it to the brake line.
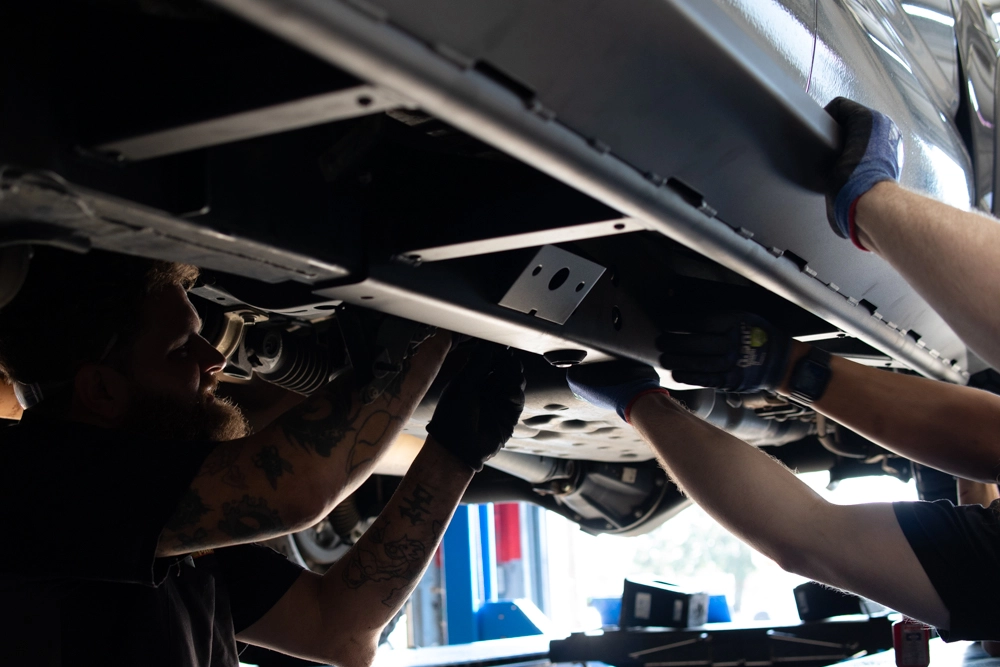
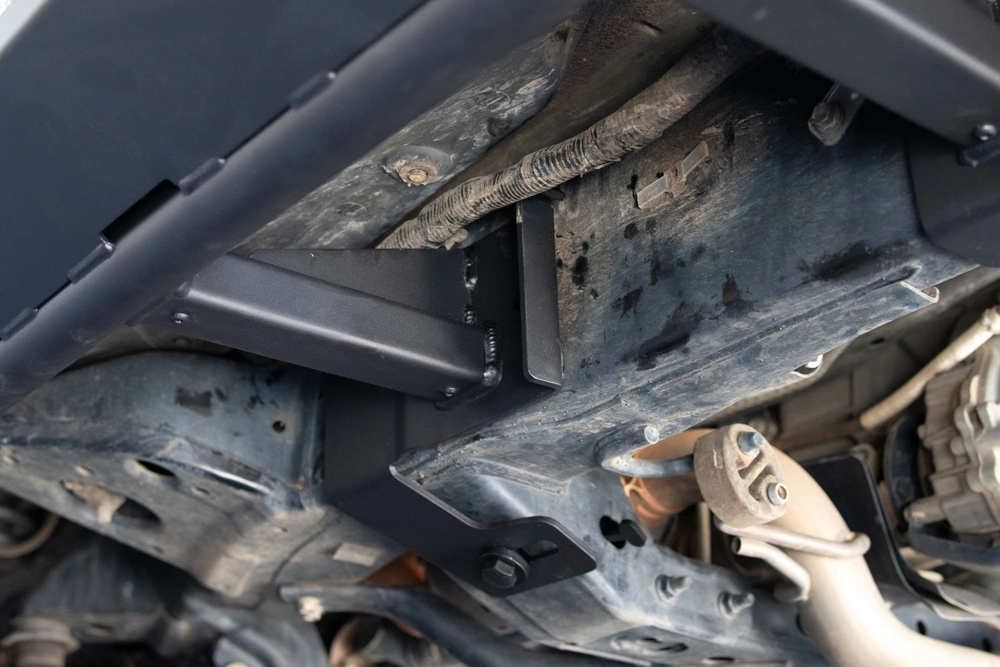
STEP 7. INSTALL NUT PLATE AND SPACERS
With the sliders still loosely installed, you will need to install the frame spacers and their accompanying nut plates.
The frame spacer (pictured above) sits behind the slider mounting plate towards the front of the frame. Slide this into position and then loosely put the bolt into the frame to hold the spacer in place.
Next, grab the nut plate and insert it into the hole in the frame. This is the long plate in the photo above that has two welded nuts on it.
The nut plate has a handle on it that should allow you to reposition the plate so that it lines up with the bolts that you are putting into the frame. Once you get the position correct, tighten down the bolts.
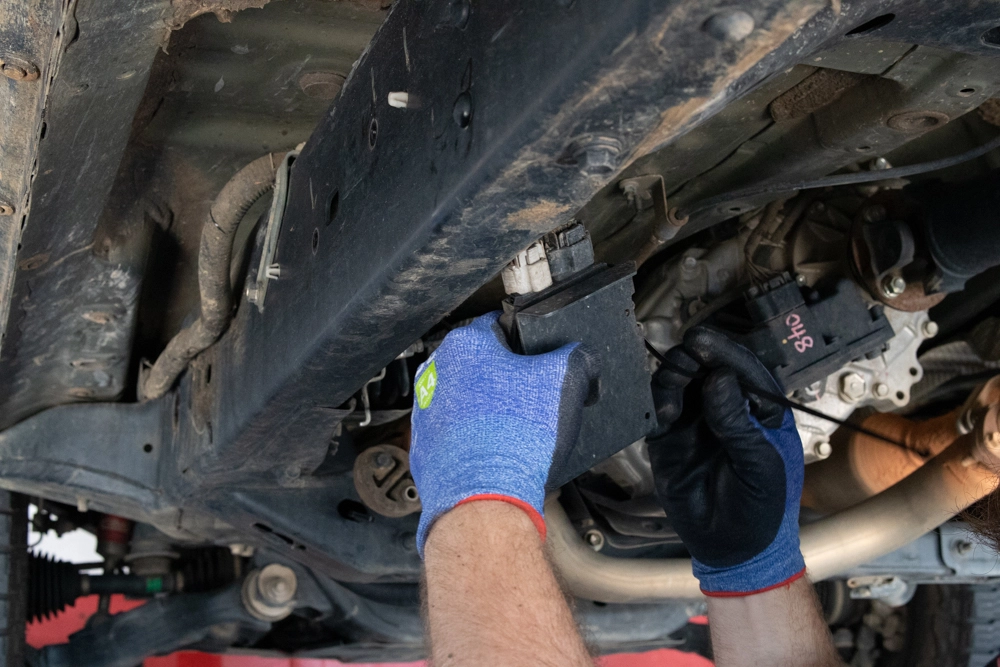
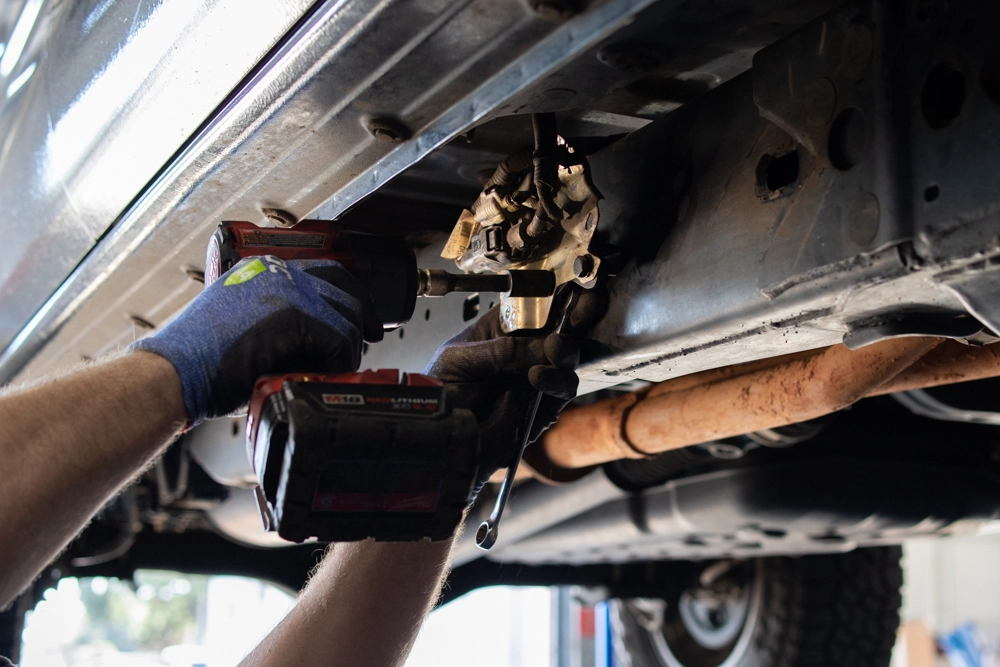
STEP 8. REINSTALL FUEL PUMP CONTROL MODULE
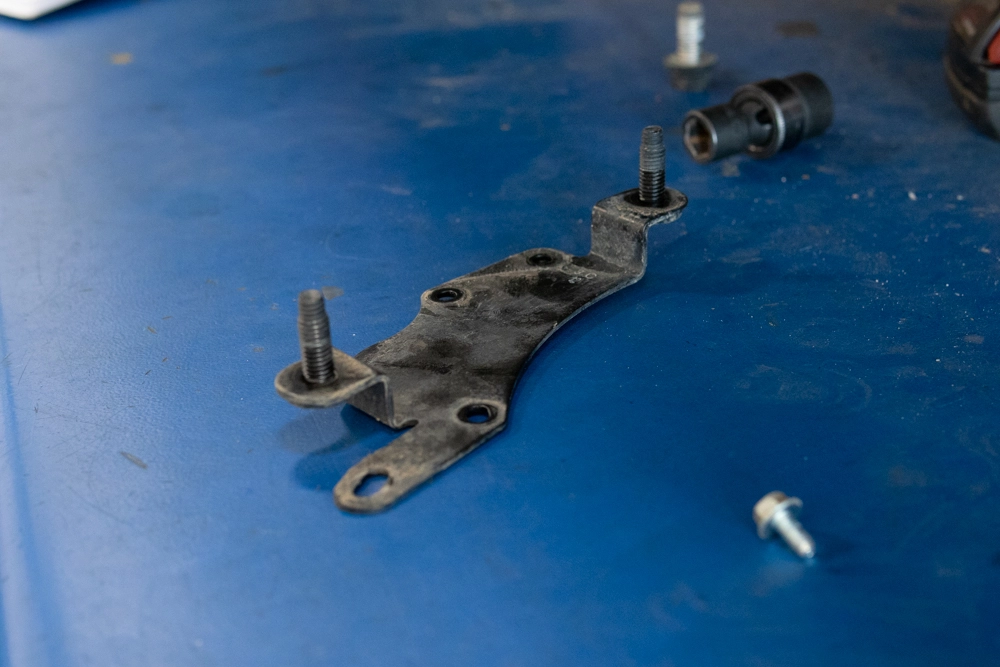
It’s now time to reinstall the fuel pump control module. You should use the hardware you set aside in step three.
Pictured above is the stock bracket for this module which will no longer be used.
Install the new Driver Module Bracket to the driver module using the OE hardware.
Reinstall the module back into the OE position using the provided two M10 oversized washers and M10 Nylock nuts.
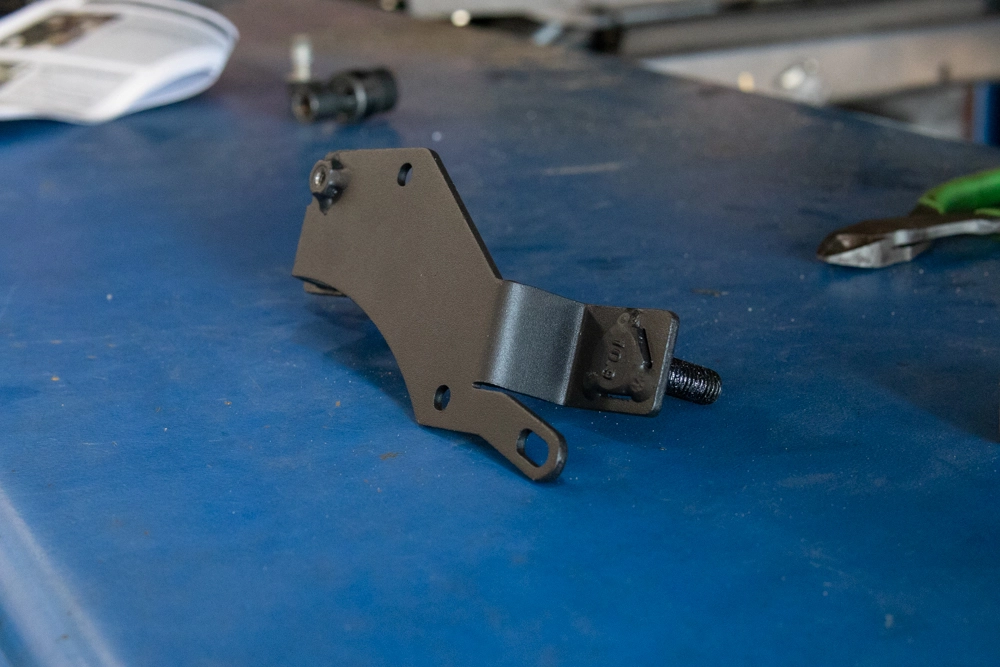
STEP 9. REINSTALL PASSENGER JUNCTION BOX
For this step, we will be reinstalling the junction box and junction box bracket on the passenger side which we removed in step four.
Re-use the OE bolts from this step to install the provided passenger junction bracket to the frame.
Next, reinstall the passenger junction box bracket using the provided M8x1.25x25mm Hex Bolts and M8 Flat Washers. Finally, reinstall the junction box cover using the OE bolts.
STEP 10. TIGHTEN EVERYTHING DOWN
At this point, you should have most everything at least loosely installed. Go through and tighten all of the bolts down to spec according to the torque specifications on the back of the install instructions.
OPTIONAL STEP
If you want to do the strongest possible installation and use the sliders for jacking the truck, follow this step.
Locate the two bottom holes on the center mounting bracket of the slider. Drill into the frame using a 7/16 drill bit.
Finally, use the HD Mounting Kit Hardware Pack to tighten the slider. This consists of an M10x1.25x35mm Hex Bolt, an M10 Ramped Spacer, M10 Oversized Washer, and an M10 Nylock Nut.
INITIAL IMPRESSIONS

Upon installation of the 4 Wheel Parts Factory Tacoma Sliders, I began to appreciate just how much thought and effort went into making them. Once installed, they are rock solid on the truck and I will feel confident in them protecting my truck body when landing on rocks and such while off-roading.
I like how these sliders double as a step and they have been really helpful so far when I need to access my recovery gear on my roof. Though they don’t provide much of a drop down “step” for the truck, it’s still nice to have some extra room to place your foot when getting in and out of the truck.
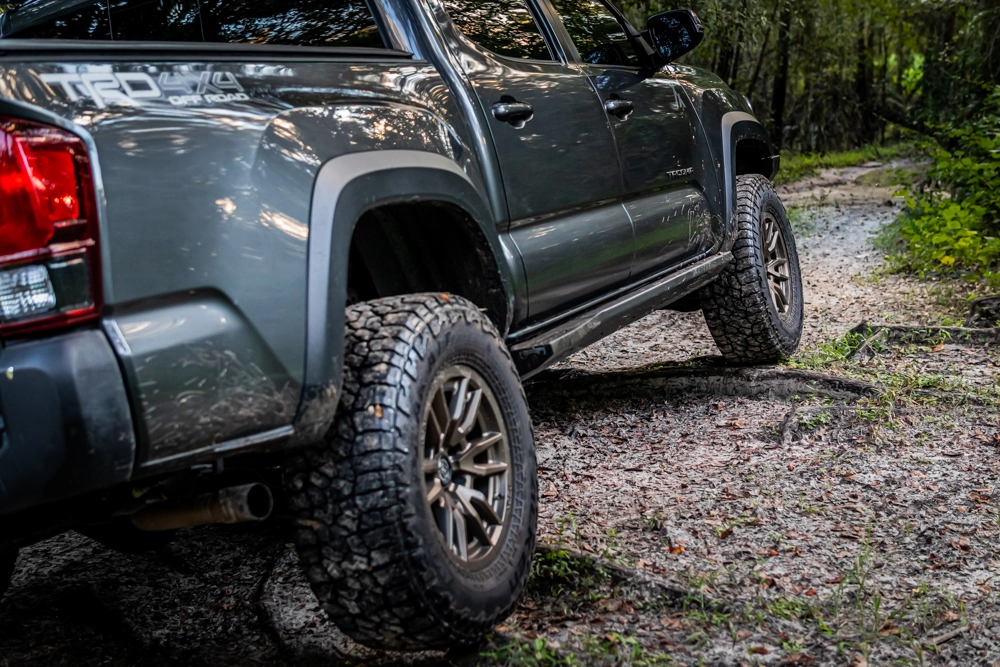
I think that these are some of the most unique and better-looking sliders on the market.
These sliders look incredible in person and photos truly don’t do them justice. They tuck up into the cab nicely and flow perfectly with the Tacoma’s body lines.
Finally, one of my favorite features of these sliders is the 4 Wheel Parts logo backplate that is removable.
I can’t wait to customize the color of the backplate, I just haven’t fully figured out what color to go with yet. Nonetheless, I think that the standard gray color they come with looks great.
FINAL THOUGHTS

The new 4WP Factory Tacoma product lineup truly knocked it out of the park, and these sliders are no exception.
The sliders truly bring a unique and innovative product to the Tacoma slider market. Time will tell if they hold up to the more intense abuse of an off-road Tacoma, but I am fully confident that they will.
4 Wheel Parts Factory was able to pair a solid, beefy slider with a sleek design that flows perfectly with the edgy design of the Tacoma. I have a feeling that these sliders are going to do well in the market.
If you are shopping for some sliders for your Tacoma, I would recommend you give these 4 Wheel Parts Factory sliders a look.
Truck Parts & Accessories
4 Wheel Parts carries a vast selection of truck parts at discount prices. Browse our online truck parts catalog when you know what your truck needs, or when you’re looking for inspiration — and do it knowing you’ll get a great deal. All of our products are covered by our 100% price match guarantee. You also have your choice of shipping options, including free shipping if you pick up your order in one of our stores. This saves you a bundle when you’re buying large truck parts, such as a truck bed cover or crate engine.

Best Aftermarket Parts for Trucks
Get the most out of your truck with our large inventory of performance parts and equipment. 4 Wheel Parts carries programmers and tuners, like the EvoHT programmer, along with fuel preporators from AirDog. Keep it cool under the hood and warm in the cab with heating and cooling accessories from the top brands in the industry. For peak performance on the road and off of it, we carry a wide selection of air intake systems, accessories, and assorted green truck parts for safe and environmentally friendly applications.