Are you trying to create a blog on WordPress? To throw light on the fact that 33% of the websites all across the globe are powered by WordPress. It is the best software which can help you in sharing immense knowledge, build an online business, and earn impressive money and what not.
But it is imperative that before creating a WordPress blog you need to lay hands on a domain which is a registered and valuable web hosting plan. However, there are many web hosting options but nothing is better than HostGator hosting.
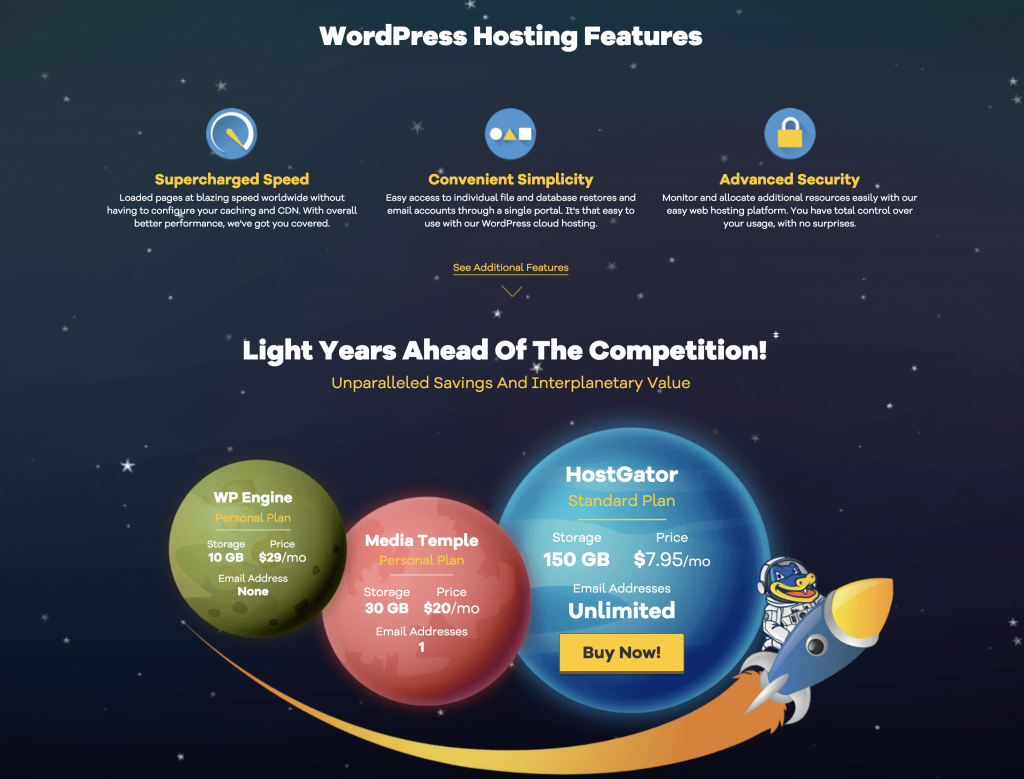
HostGator is the reason behind the splendid success of many websites. It is the best hosting option which provides incredibly superior features, terrific affordable plans, etc. Above all, it is beginner-friendly which an enormous benefit is.
HostGator also makes it easy for users to install WordPress on it. There are basically two ways to do the installation, quick and manual install. The quick install takes only 5 to 7 minutes and the complete process of it is defined below:
Hosting plan

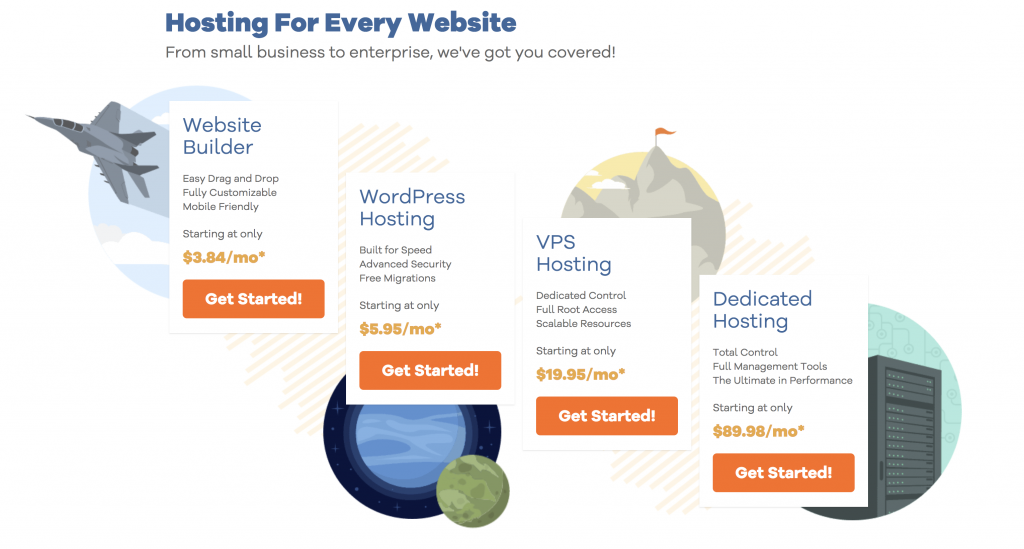
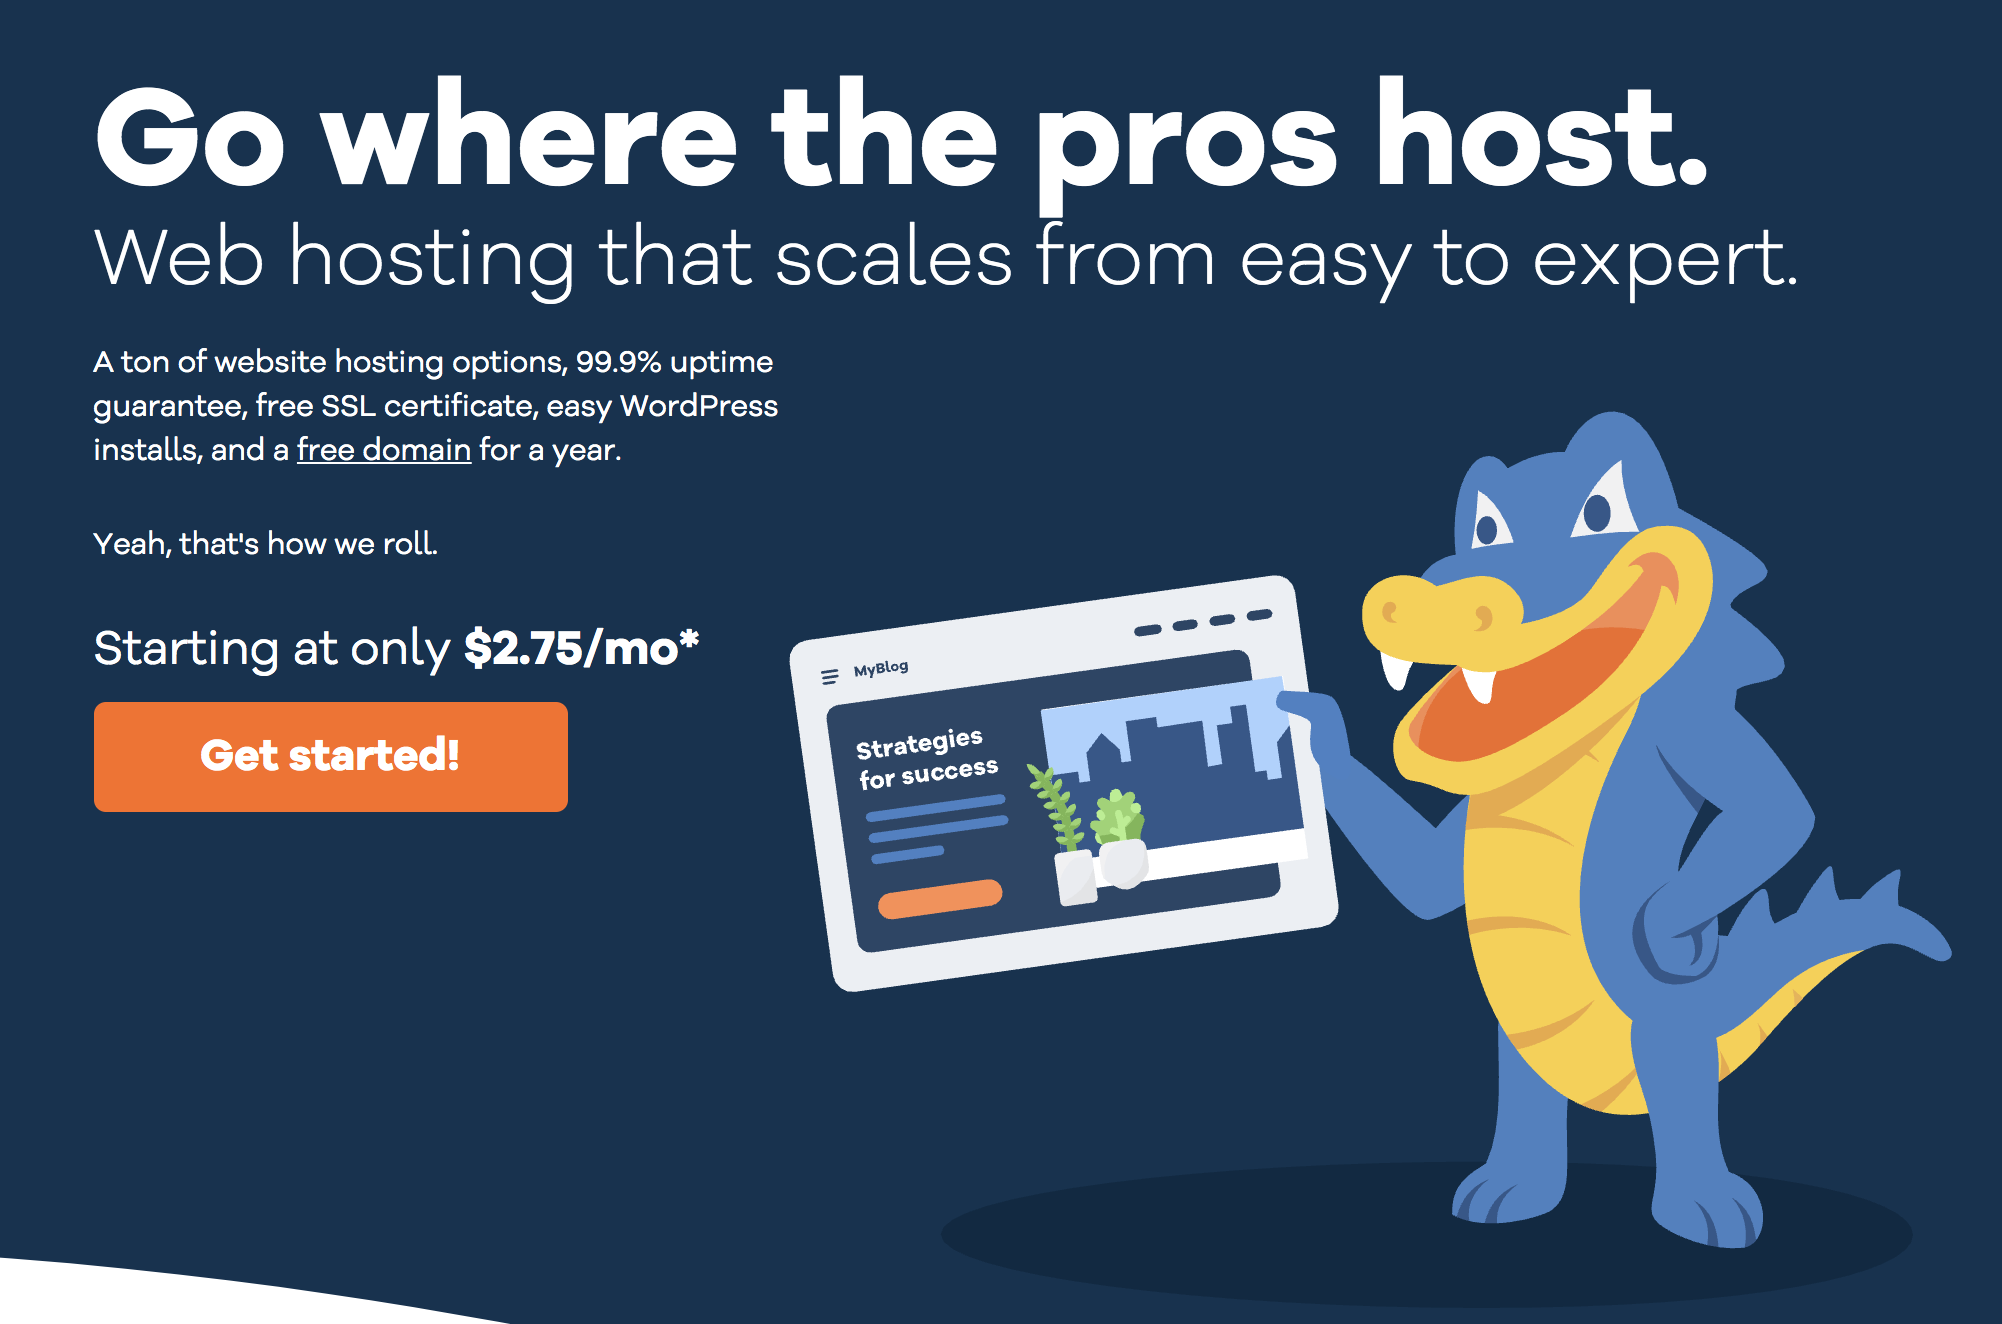
First things first, choosing a hosting plan is something you can’t skip. Hostgator offers various hosting plans like shared hosting, cloud hosting, VPS hosting, managed WordPress hosting, etc. If you are taking your initial steps then it is better to go with shared hosting. Shared hosting, further has plans like hatchling plan, baby plan, and business plan. However, hosting plans begin from $2.75 per month which doesn’t create a dent in your pocket to start a WordPress blog. In fact, it also offers free of cost WordPress site migration.
Domain registration
A domain name is the official address of a website. It is very vital to choose the appropriate name otherwise your business might face the losses. However, the Hostgator can benefit you with free domain registration. It is the best way to save money a lot of money. The best part is that HostGator a totally free domain registration along with the hosting plan. But it is very important to pick SEO-friendly domain name for your website by picking up right extension, precise names, and hyphen-number free names. Also, make sure that not a single letter in the domain name repeats.
Hostgator purchase form
The purchase form of the hostgator involves 4 main steps.
Step 1: It involves the hosting plan. It is better to choose 36 months plan because of wonderful discounts.
Step 2: It is about billing information like email address, phone number, account details, etc.
Step 3: It includes extra services like SS; certificate, SEO tools, etc. this step is optional.
Step 4: It is about terms and conditions.
Step5: The last step involves you with an email about cPanel login details.
WordPress installation

After logging in several options come up. You need to go for option quickinstall, and then choose WordPress installation. Later, you need to cover the steps like install settings like name, blog title, etc. Also, don’t forget to save the login details at last.
Organizing WordPress website
Organizing your WordPress site on the hostgator goes through logging into the admin panel of WordPress. This process will help you in uninstalling the default plugins and simple posts as well as pages. These steps will make your website look more professional and sorted.
Plan an SSL
According to Google, the best and secure way for a website is to operate it on HTTPS only. To do this, you need to plan an SSL otherwise your website will come under the accusation of HTTP and HTTPS protocol. Also, you won’t have a secure connection. To push your website to redirect to HTTPS is quite simple.
Just login to your hosting cPanel
Then go to File Manager-public_html
Find and edit the .htaccess file. If it’s hidden by default, then visit the settings and click on the option ‘Show hidden files’.
In the end, .htaccess file, add a small code
RewriteEngine On
RewriteCond %{HTTPS} off
RewriteRule ^(.*)$ https://%{HTTP_HOST}%{REQUEST_URI} [L,R=301]
After that you can save the file and go to the WordPress dashboard by visiting Settings in General.
Now you can easily change the HTTP protocol with HTTPS
- WordPress plugins and themes
As we all know that plugins are meant to enhance the functionality and security of your site. To let your website function more efficiently and make it look more eye-catchy, the installation of plugins and themes is an important step. WordPress offers a lot of options in plugins and themes to choose from. However, WordPress offers over 50,000 plugins, thus, it’s quite a daunting task to pick the right ones.
- It’s time to install a WordPress theme
Once you are done with installing plugins, it’s time to install a WordPress theme. By default, you will get over 3 themes, but you can install more themes by going to ‘Appearance-themes-Add New’. Here, you can find out over 50,000 themes to pick from.
- Put out your first WordPress post
Last but not the least, after installing WordPress on HostGator, it is the stage to put out your first WordPress post. To publish your first post, simply go to Posts-Add New. Make sure to give a nice title to your post along with a precise and eye-catching post description for better viewership.
With this final step, you are done with launching your WordPress site on HostGator.
FAQs
- Does it offer free domain registration?
Yes, HostGator offers free domain registration with it’s one-year hosting plan.
- How much time does it take to install WordPress on HostGator?
It doesn’t take more than 10 minutes.
- Does it offer WordPress free?
Yes, WordPress is absolutely free with HostGator. Also, it is compatible with it, and one can easily install it without facing any kind of problem.
Conclusion
Thus, Hostgator offers free WordPress installation. With the perfect combination of HostGator and WordPress, you will be able to build your own website and can achieve the greatest benefits of all time. By following simple steps, one can easily install WordPress on HostGator without facing any problems.


